
The Radioberry Juice USB Board is an interface board. I will show you how to set it up, along with the software needed for Windows. So you wanted to get the Radioberry, but you don’t want to buy the Raspberry Pi. In this article i will show you how to use your Windows PC.
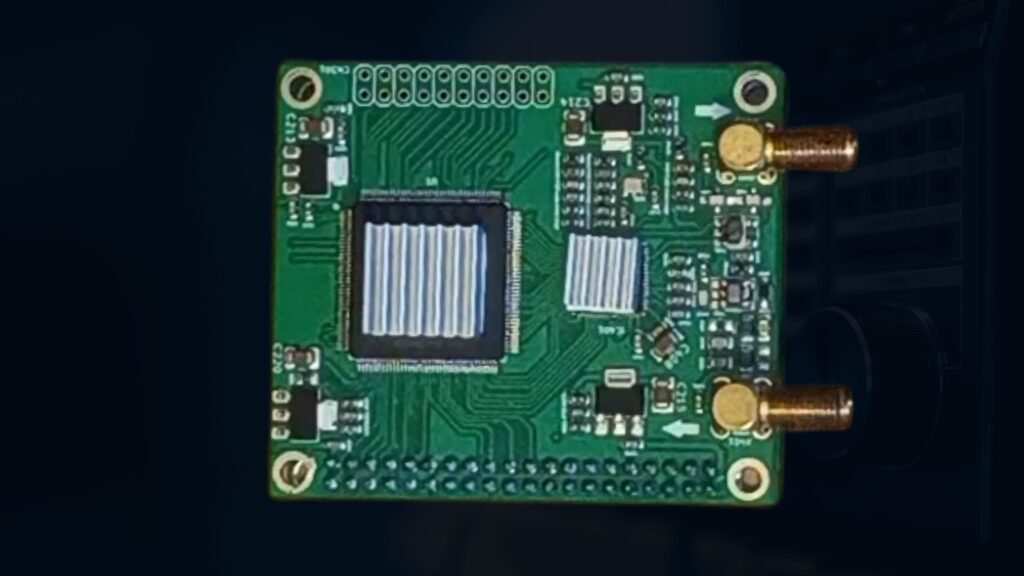
The Radioberry Juice USB Board is designed to connect the Radioberry SDR transceiver module to your computer via USB. Instead of needing a separate Raspberry Pi board to run SDR software or manage the radio, this USB board lets you plug your Radioberry directly into a PC and use popular SDR applications to control and operate the radio.
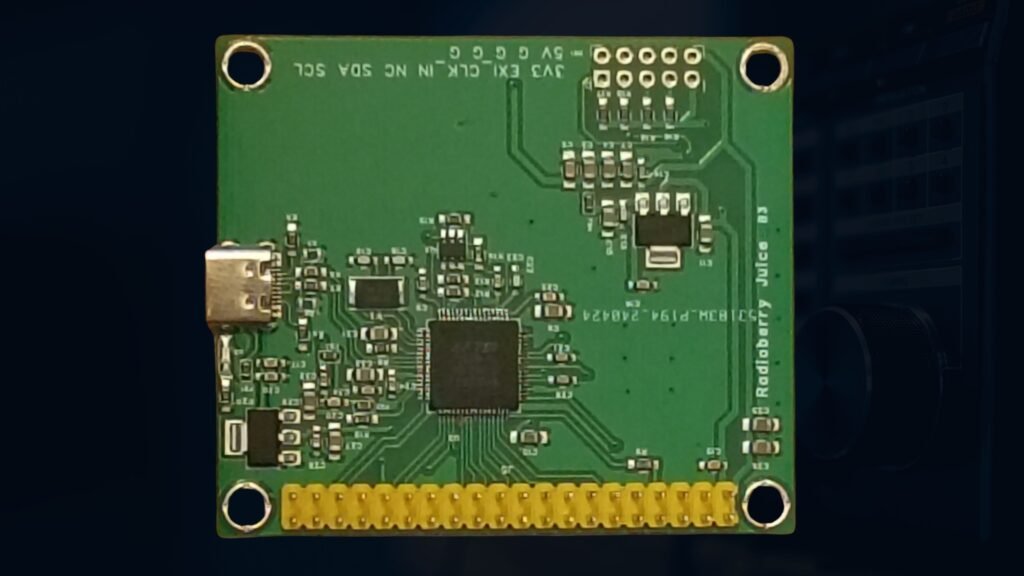
This board turns your SDR radio into a USB SDR device that your computer can “see” and interact with using SDR software.
You can connect the Radioberry module straight to your Windows or Linux computer using USB. It does require the installation of a USB driver to enable PC communication before use. And I will go into that.
This board works with many of the popular SDR software packages, but I have not truly tested that except for Thetis on my Windows PC. This compatibility will give you access to a wide range of modes and operational tools for signal visualization, decoding, and transmitter control.
The operating frequency will be zero to 30 MHz, and the output power will be around 20 milliwatts and require an amplifier for higher power, like the preamp board. The bandwidth offers a maximum of up to 384 kHz, allowing reception of a relatively wide range of signals and modes.
Here’s what you can actually do with the board in real use. Instead of setting up a Raspberry Pi with SDR software, simply connect this board via USB and start running your SDR software on your Windows or Linux PC. This makes it significantly easier to get on the air or monitor signals quickly without complex setup steps. Now, let’s face it, it will still take a little effort to get just this setup, but hopefully it will be fun.
No need to maintain a Raspberry Pi or worry about its network setup—just USB to PC. This is ideal for people who already use SDR software on a desktop or laptop and want a direct connection.
Now, let’s get going on the steps you will need to get this set up so that you can start tuning in. For starters, you’re going to need the USB board, and the links are in the description.
How To Setup The Radioberry On PC USB
I will go over how to set up the driver and software on Windows because I haven’t tested this on Linux yet. Install the USB driver on your Windows computer so that you can enable communication with the board.
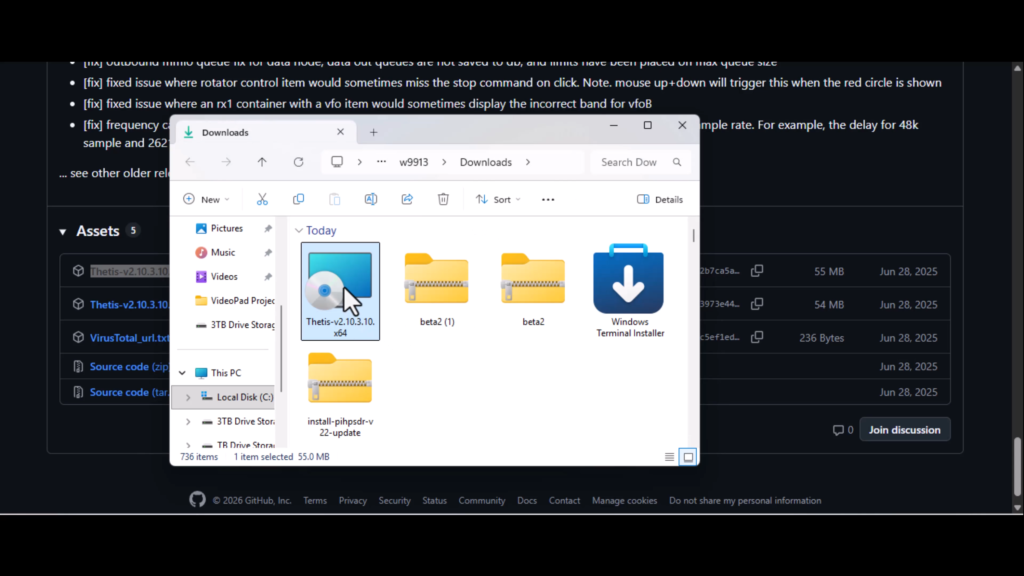
Once you have downloaded the driver, extract the folder somewhere on your PC where you know you can find it.
Driver: https://github.com/pa3gsb/Radioberry-2.x/releases
Thetis SDR: https://github.com/ramdor/Thetis/releases
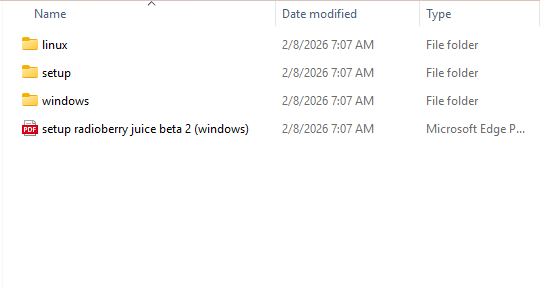
Open the folder you extracted and click on the Windows folder, and open it. Make sure you have the radio berry connected to the juice board and that it’s plugged into the USB or it will not read.
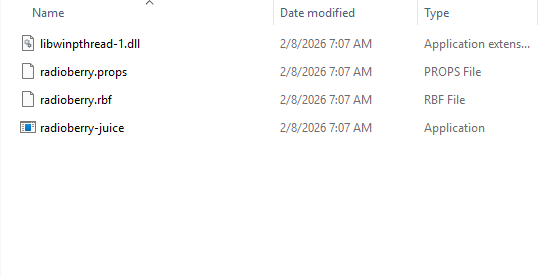
Double-click on the file that says “radioberry juice.” A command window will open, and it will start reading the board with the radioberry. If the board is not connected to your USB, it will not start and close out.
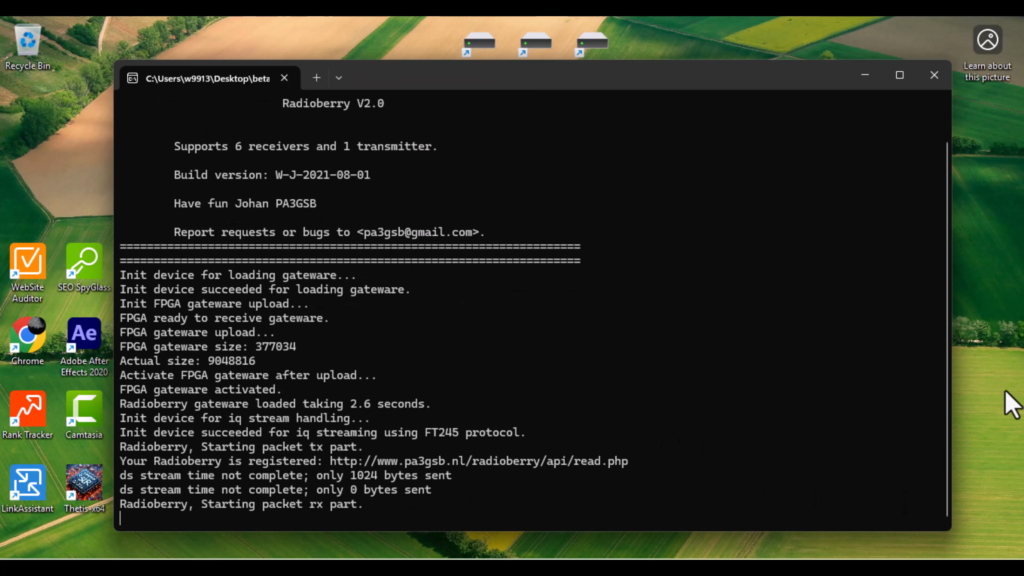
When it stops, then make sure you keep the command window open but minimized. Do not hiot the X or it will not work.
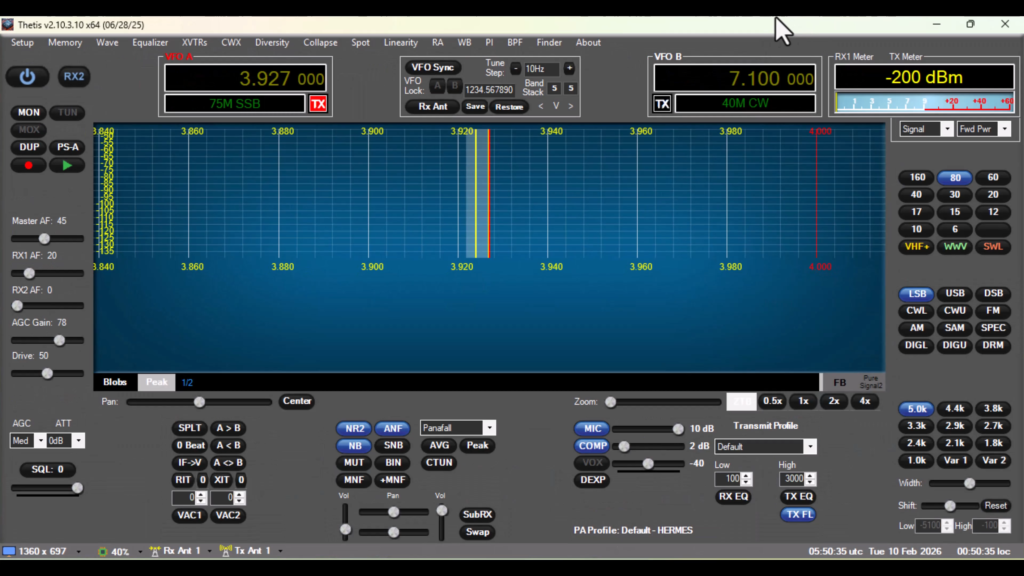
Now, click on the thesis file and open it.
Once it opens, another command prompt will open and start going through the TFF waterfall. This will only happen once and may take a few minutes. After it is done, a window will pop up and tell you that you can safely close that window. Then for Thetis to open. After that, you’re all set, but please note that this is for receiving, as you can transmit if you have all the hardware needed.
The Radioberry On PC USB Is Simple To Install
You still need the Radioberry SDR module itself (sold separately) and an antenna system.
AURSINC Radioberry Juice USB Board, Compatible with Radioberry
This board replaces the need for a Raspberry Pi 4. Simply connect your Radioberry module to the Juice USB Board, plug into your PC, and start transmitting/receiving—no additional hardware required.
AURSINC SDR Radioberry HF SDR Transceiver Pi Hat
Turn your Raspberry Pi to SDR Transceiver. Many amateurs have done a lot with Raspberry Pi ranging from cat control to converting it to a full fledged SDR transceiver. The latest kid in the block of SDR Transceivers is Radioberry.
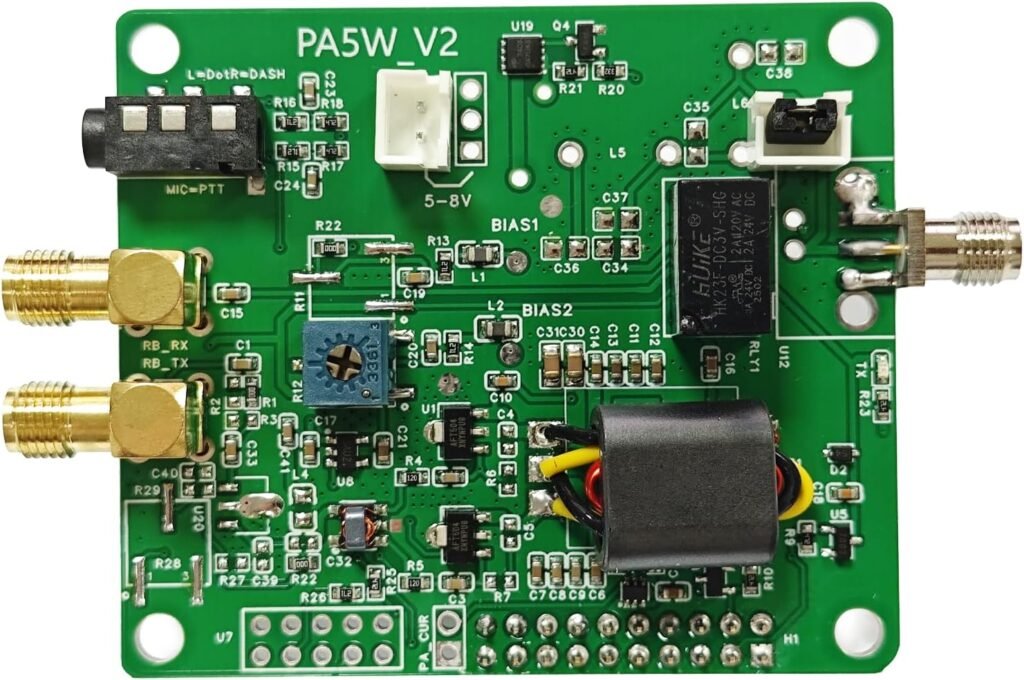
URSINC Radioberry Preamp Board V2
The output power of the amplifier board V2 is slightly higher than that of the previous version, with V2 reaching 3–5W. Technical Specs: Power in 6-8V (8.4V preferred); HF Power in: Tx from radioberry; HF Power out: 3-5W for for HF amplification. RF range: 1mhz-50mhz. Port Type: Input SMA, Output SMA. Supports SSB, FM, and AM